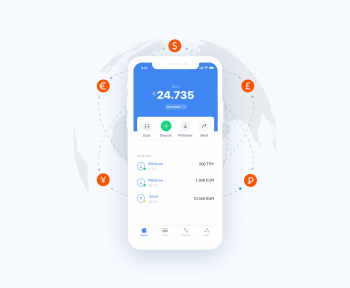
Jeton makes it easy to manage multiple currencies in one account, with over 20 options available. Whether you need to make a payment, send money, or just top up your account, the process is straightforward. Here's how to add money to your Jeton account in a few simple steps.
Step 1: Set Up and Verify Your Jeton Account
Before you can add funds, make sure your account is verified. This usually means submitting some identification documents to confirm your identity. If you haven’t done this yet, complete the verification first.
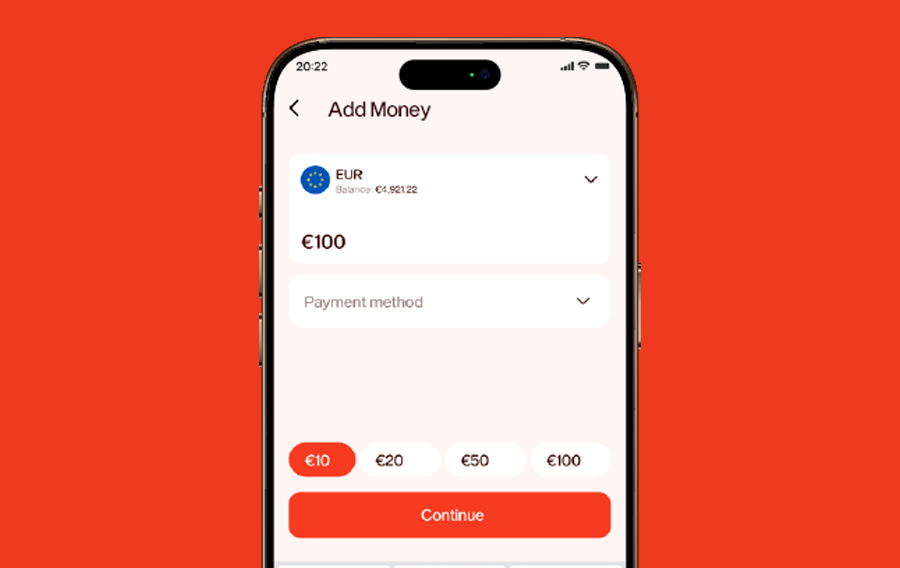
Step 2: Choose Your Currency
Jeton lets you choose from a variety of currencies, such as GBP, EUR, PLN, INR, and more. When you add funds, you’ll need to select which currency you want to top up. This gives you the flexibility to manage different currencies in one place.
Step 3: Log Into Your Account
To get started, log into your Jeton account with your credentials. Once logged in, you'll be taken to your account dashboard where you can see all your details and recent activity.
Step 4: Select the Account You Want to Fund
On your dashboard, you’ll see the currency accounts you’ve set up. Pick the one you want to top up, whether it’s GBP, EUR, INR, or another currency.
Step 5: Choose Your Payment Method
Jeton supports several popular payment options, making it easy to add funds. Here are a few choices:
- Apple Pay: A quick and secure option for Apple users.
- Credit/Debit Card: A common way to fund your account quickly.
- PayPal: Great for those who prefer to use their PayPal account.
- Instant Bank Transfer: Perfect for direct transfers from your bank.
Pick the payment method that works best for you.
Step 6: Complete the Payment
Once you’ve chosen your payment method, follow the instructions to complete the transaction. The time it takes for the funds to appear in your account may vary depending on the method you use. For example, instant bank transfers may take only a few minutes, while other methods might take a bit longer.
Step 7: Track Your Deposits
Once your payment has been processed, you can check your Jeton account to ensure the funds are there. In the Transactions Section of your account, you can filter your transactions by:
- Date: See deposits from specific dates.
- Status: Check if the transaction is still pending or completed.
- Payment Method: View which payment method was used.
- Amount: Filter by the amount of money you’ve added.
These filters make it easy to keep track of your account activity.
Step 8: Use Your Funds
With your Jeton account topped up, you're ready to use your balance for payments, transfers, or any other service Jeton offers. The multi-currency feature allows you to manage transactions worldwide with ease, making Jeton a great tool for global financial management.
Adding funds to your Jeton account is simple and quick. With plenty of payment options, the ability to manage multiple currencies, and easy tracking of your transactions, Jeton is a user-friendly way to handle your finances. Follow these steps to top up your account and enjoy the flexibility Jeton provides.